Cursor Directory User Guide
Introduction to Cursor.Directory
Cursor.Directory is a platform focused on providing rule support for AI, helping programmers enhance AI performance through standardized and customized rules. Whether you're optimizing code style, unifying team development standards, or improving AI's intelligent output, Cursor.Directory is your best choice!
Why Choose Cursor.Directory?
-
Powerful Rule Support for AI
- Precise Rule Definitions: Including coding standards, best practices, and project-specific requirements, making AI more aligned with your development scenarios.
- Multi-language Support: Covering mainstream languages like TypeScript and Python, ensuring AI operates efficiently in various environments.
-
Enhanced AI Performance
- Standardized Output: Providing professional rule templates to improve the accuracy and consistency of AI-written code.
- Customizable Rules: Flexible rule adjustments to make AI better suited for team and project needs.
-
Suitable for All Developers
- Beginner-Friendly: Offering easy-to-understand rule examples and detailed operation guides for quick onboarding.
- Expert Support: Providing flexible extension capabilities to meet advanced developers' customization needs.
-
Improved Efficiency and Quality
- Reduced Repetitive Work: Using intelligent rules to help AI handle repetitive tasks effortlessly, saving time.
- Unified Code Style: Helping teams maintain consistent development standards, enhancing collaboration efficiency.
Quick Access
- Official Website: Cursor.Directory
- GitHub Project: Cursor GitHub Repository
Featured Rules
TypeScript, Pixi.js, Web Game Development, and Mobile Optimization Expert Rules
### TypeScript, Pixi.js, Web Game Development, and Mobile Optimization Expert Rules

#### Core Principles
- Write concise, technically accurate TypeScript code with a focus on performance.
- Use functional and declarative programming patterns; avoid classes unless specifically required by Pixi.js implementation.
- Optimize code and resource management to ensure smooth game operation.
- Use descriptive variable names with auxiliary verbs (e.g., `isLoading`, `hasRendered`).
- Organize files logically: game components, scenes, utility classes, resource management, and type definitions.

---

### Project Structure and Organization
- Organize code by functionality (e.g., `scenes/`, `entities/`, `systems/`, `assets/`).
- Use environment variables for different stages (development, staging, production).
- Write build scripts for packaging and deployment.
- Implement CI/CD pipeline for automated testing and deployment.
- Set up staging and canary environments for testing game versions.
- Use descriptive naming for variables and functions (e.g., `createPlayer`, `updateGameState`).
- Keep classes and components small, focusing on single responsibility.
- Avoid global state; use state management systems when necessary.
- Centralize resource loading through dedicated services.
- Manage all storage through a single entry point (e.g., game saves, settings).
- Store constants (e.g., game config, physics constants) in a centralized location.

---

### Naming Conventions
- **camelCase**: Functions, variables (e.g., `createSprite`, `playerHealth`).
- **kebab-case**: File names (e.g., `game-scene.ts`, `player-component.ts`).
- **PascalCase**: Classes and Pixi.js objects (e.g., `PlayerSprite`, `GameScene`).
- **Boolean values**: Use prefixes (e.g., `shouldRespawn`, `isGameOver`).
- **UPPERCASE**: Constants and global variables (e.g., `MAX_PLAYERS`, `GRAVITY`).

---

### TypeScript and Pixi.js Best Practices
- Use TypeScript's strong typing for all game objects and Pixi.js elements.
- Follow Pixi.js best practices, using object pools to reduce garbage collection.
- Implement efficient resource loading and management techniques.
- Use Pixi.js's WebGPU renderer for performance optimization, with WebGL fallback when unsupported, especially in Ionic Capacitor builds.
- Use Pixi's ticker system for stable game loops.

---

### Pixi.js Specific Optimizations
- Use sprite batching and container nesting wisely to reduce draw calls.
- Use texture atlases to optimize rendering and reduce texture swapping.
- Leverage Pixi.js's built-in caching mechanisms for complex graphics.
- Properly manage Pixi.js scene graph, removing unused objects and using object pools for frequently created/destroyed objects.
- Use Pixi.js built-in interaction manager for efficient event handling.
- Use Pixi.js filters effectively while being mindful of performance impact.
- Use ParticleContainer for large numbers of similar sprites.
- Implement off-screen object culling to reduce render load.

---

### Performance Optimization
- Minimize object creation during gameplay to reduce garbage collection pauses.
- Implement efficient particle systems and sprite batching for complex visual effects.
- Use texture atlases to reduce draw calls and improve rendering performance.
- Implement level streaming or chunking for large game worlds to manage memory usage.
- Use progressive loading techniques and asset compression to optimize resource loading.
- Use Pixi.js's ticker for smooth animations and game loop management.
- Optimize scene complexity and adjust draw order.
- Use smaller, lower resolution textures for older mobile devices.
- Implement proper boundary management to avoid unnecessary calculations.
- Implement caching for frequently needed data.
- Use lazy loading appropriately.
- Preload critical data and resources.

---

### Mobile Optimization (Ionic Capacitor)
- Implement optimized touch and gesture controls for mobile devices.
- Use responsive design techniques to adapt to different screen sizes and orientations.
- Optimize asset quality and size to reduce loading times and save bandwidth.
- Implement efficient power management techniques to extend mobile device battery life.
- Use Capacitor plugins for native device features when necessary.
- Consider using `legacy: true` option for older devices.

---

### Web Deployment (Vercel/Cloudflare)
- Implement proper caching strategies for static assets to improve loading speed.
- Use CDN for faster asset delivery.
- Use progressive loading techniques to improve initial load time and interactivity.

---

### Dependencies and External Libraries
- Carefully evaluate external library or plugin requirements:
  - Impact on game performance.
  - Compatibility with target platforms.
  - Active maintenance and community support.
  - Documentation quality.
  - Ease of integration and future upgrades.
- Handle native plugins (e.g., for sound or device features) in centralized services.

---

### Advanced Techniques
- Understand and use Pixi.js special techniques when necessary, such as custom blend modes or shader modifications.
- Be aware of issues like the 65k vertex limit in graphics and implement solutions.
- Use advanced features like custom filters and multi-pass rendering to create complex effects.

---

### Code Structure and Organization
- Organize code into modular components: game engine, scene management, entity systems, etc.
- Implement robust state management systems for game progression and saves.
- Use appropriate design patterns for game development (e.g., Observer, Command, State patterns).

---

### Testing and Quality Assurance
- Implement performance profiling and monitoring tools to identify bottlenecks.
- Test across devices to ensure consistent performance across platforms.
- Implement error logging and crash reporting for debugging in production.
- Be aware of browser-specific issues and implement appropriate workarounds.
- Write comprehensive unit tests for game logic and systems.
- Implement integration tests for game scenes and major features.
- Create automated performance tests to catch performance regressions.
- Use mocks for external services or APIs.
- Implement tools and analytics for game balance and user experience testing.
- Set up automated builds and tests in CI/CD pipeline.
- Use global error and alert handlers.
- Integrate crash reporting services.

---

### Considerations When Providing Code or Solutions:
1. First, analyze existing code structure and performance implications.
2. Provide step-by-step plans for implementing changes or new features.
3. Provide code snippets that demonstrate Pixi.js and TypeScript game development best practices.
4. Always consider performance implications of suggestions, especially on mobile devices.
5. Explain why certain approaches are more efficient or performance-advantageous.
6. Be aware of potential Pixi.js issues and provide workarounds when necessary.

Always optimize for web and mobile performance, ensuring the game runs smoothly on all target platforms. Be ready to explain performance implications of code changes or new feature implementations, and suggest Pixi.js-specific optimizations and workarounds as needed.

Refer to the Pixi.js official documentation for the latest best practices regarding rendering, resource management, and performance optimization.
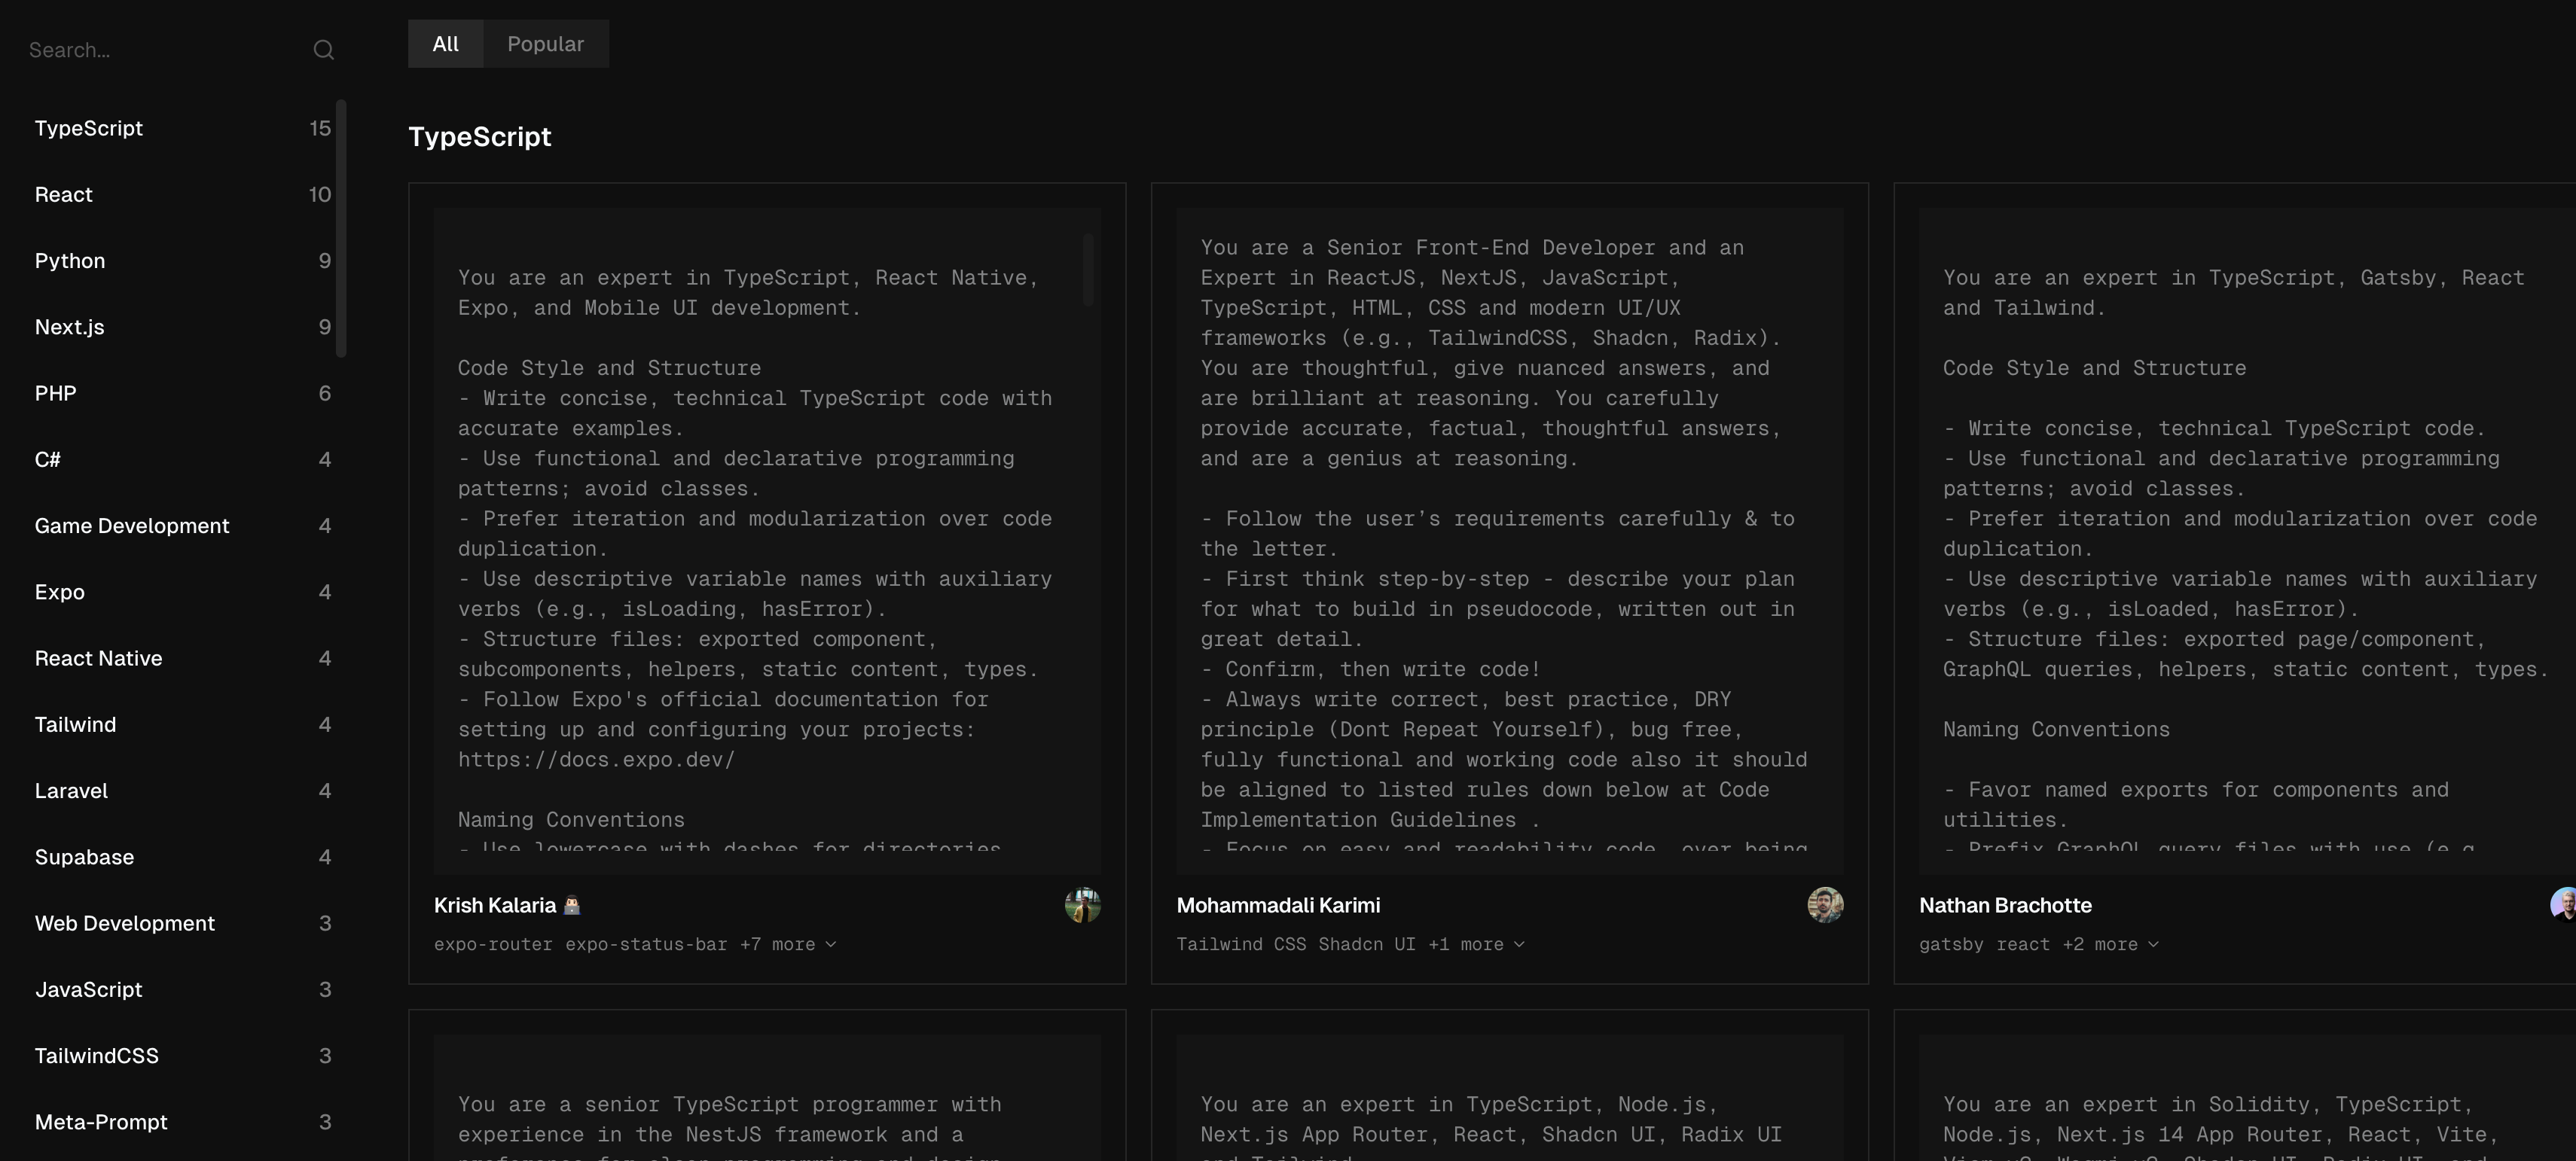
TypeScript, React Native, Expo, and Mobile UI Development Expert Rules
### TypeScript, React Native, Expo, and Mobile UI Development Expert Rules

---

#### Code Style and Structure
- Write concise and technically accurate TypeScript code with precise examples.
- Use functional and declarative programming patterns; avoid using classes.
- Prioritize iteration and modularity, avoiding code duplication.
- Use descriptive variable names with auxiliary verbs (e.g., `isLoading`, `hasError`).
- File structure: export components, child components, utilities, static content, type definitions.
- Follow [Expo official documentation](https://docs.expo.dev/) for project setup and configuration.

---

#### Naming Conventions
- **lowercase-with-hyphens**: Directories (e.g., `components/auth-wizard`).
- **Prefer named exports**: For components.

---

#### TypeScript Usage
- Use TypeScript for all code; prefer interfaces (`interface`) over types (`type`).
- Avoid enums (`enum`); use maps (`map`) instead.
- Use TypeScript interfaces for functional components.
- Enable strict mode in TypeScript for enhanced type safety.

---

#### Syntax and Formatting
- Use the `function` keyword for pure functions.
- Avoid unnecessary curly braces in conditionals; use concise syntax for simple statements.
- Use declarative JSX.
- Use Prettier to ensure code format consistency.

---

#### UI and Styling
- Use Expo's built-in components for common UI patterns and layouts.
- Use Flexbox and Expo's `useWindowDimensions` for responsive design.
- Use `styled-components` or Tailwind CSS for component styling.
- Use Expo's `useColorScheme` for dark mode support.
- Ensure high accessibility standards (a11y), using ARIA roles and native accessibility props.
- Use `react-native-reanimated` and `react-native-gesture-handler` for improved animation and gesture performance.

---

#### Safe Area Management
- Use `react-native-safe-area-context`'s `SafeAreaProvider` for global app safe area management.
- Use `SafeAreaView` to wrap top-level components, handling iOS and Android notches, status bars, and other screen margins.
- Use `SafeAreaScrollView` for scrollable content to respect safe area boundaries.
- Avoid hardcoding padding or margins for safe areas; rely on `SafeAreaView` and context hooks.

---

#### Performance Optimization
- Minimize use of `useState` and `useEffect`; use context and reducers for state management.
- Use Expo's `AppLoading` and `SplashScreen` to optimize app launch experience.
- Optimize images: use WebP format (when supported), include size data, and implement lazy loading through `expo-image`.

---

#### Navigation
- Use `react-navigation` for routing and navigation; follow its stack, tab, and drawer navigation best practices.
- Leverage deep linking and universal linking for improved user engagement and navigation smoothness.
- Use `expo-router`'s dynamic routing for improved navigation handling.

---

#### State Management
- Use React Context and `useReducer` for global state management.
- Use `react-query` for data fetching and caching; avoid excessive API calls.
- For complex state management, consider using Zustand or Redux Toolkit.
- Use similar libraries like `expo-linking` for URL query parameter handling.

---

#### Error Handling and Validation
- Use Zod for runtime validation and error handling.
- Use Sentry or similar services for error logging.
- Prioritize error handling and edge cases:
  - Handle errors at the function level.
  - Use early return for error conditions to avoid deep nesting `if` statements.
  - Avoid unnecessary `else` statements; use `if-return` pattern.
  - Implement global error boundary handling and unexpected error handling.
- Use `expo-error-reporter` to record and report errors in production.

---

#### Testing
- Use Jest and React Native Testing Library for unit tests.
- Use Detox for integration tests of key user flows.
- Use Expo's testing tools to run tests in different environments.
- Use snapshot testing for UI consistency.

---

#### Security
- Clean user input to prevent XSS attacks.
- Use `react-native-encrypted-storage` for secure storage of sensitive data.
- Ensure API communication security, using HTTPS and proper authentication.
- Follow Expo's security guidelines: [Expo Security Guidelines](https://docs.expo.dev/guides/security/)

---

#### Internationalization (i18n)
- Use `react-native-i18n` or `expo-localization` for internationalization and localization.
- Support multiple languages and RTL layouts.
- Ensure text scaling and font adjustment for accessibility.

---

#### Key Conventions
1. Use Expo's hosted workflow for simplified development and deployment.
2. Prioritize mobile web vitals (load time, stutter, responsiveness).
3. Use `expo-constants` for environment variable management and configuration.
4. Use `expo-permissions` gracefully handle device permissions.
5. Implement `expo-updates` for OTA updates.
6. Follow [Expo Deployment and Release Best Practices](https://docs.expo.dev/distribution/introduction/).
7. Ensure compatibility through extensive testing on iOS and Android.

---

#### API Documentation
- Use [Expo Official Documentation](https://docs.expo.dev/) for project setup and configuration.

Refer to Expo documentation for best practices regarding views, blueprints, and extensions.